
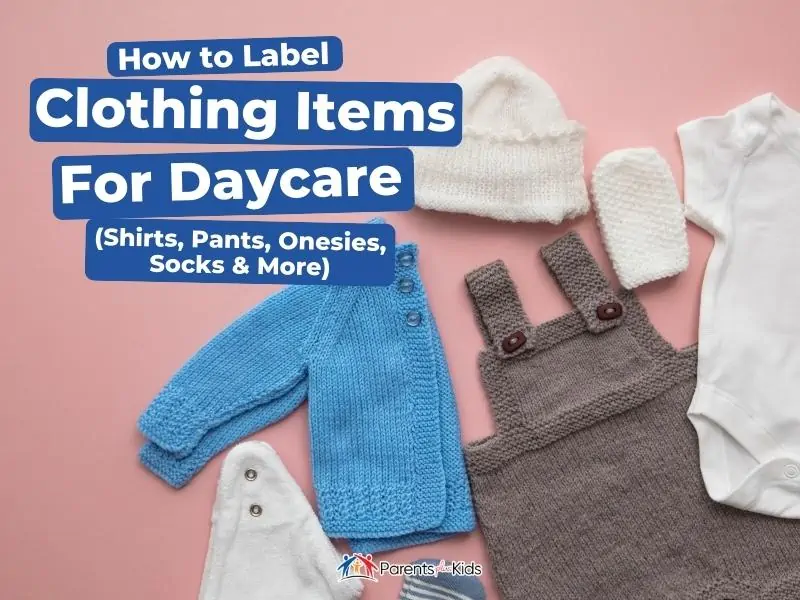
How to Label Clothing Items For Daycare (Shirts, Pants, Onesies, Socks & More)
This post may contain affiliate links. If you buy through the link, I may earn a commission. Learn More.
If you think you will never lose one of your children’s items at daycare, think again.
It is virtually impossible not to lose clothing, toys, and pacifiers during the day if they aren’t properly labeled.
Anything you hope to see again needs a label that won’t come off at daycare.
*FYI, some of the links in this article about how to label clothes for daycare may be affiliate links. If you click and make a purchase, we may get a commission (at no extra cost to you). For more info, please see our disclaimer.
How to Label Clothing Items for Daycare
Materials Needed
- Baby Clothes
- Thin Cloth (if using the iron-on method)
- Iron and Ironing Board (if using the iron-on method)
- or
There are three primary products you can choose from when labeling clothing: iron-on labels, stamps, and stickers. There are pros and cons to each.
Iron On Labels
Iron-on labels require ironing. If you like to iron, this might be the best choice for you. I personally hate ironing. In fact, I refuse to iron.
All ironing done in my home is done by my husband, but I digress. Iron-on labels are easy to read, unlikely to accidentally come off and will adhere to any fabric.
If you choose to sell or donate your baby’s clothing, they can be removed by heating the label with an iron and pulling away. On the downside, some kids might be irritated by the label and it does require ironing.
Stamp On Clothes
Stamps are great. They are easy, they are fast and they take virtually no prep time.
The downside is that once clothing items are stamped, they are stamped forever. There is no way to remove the ink. There is also no easy way to stamp darker clothes.
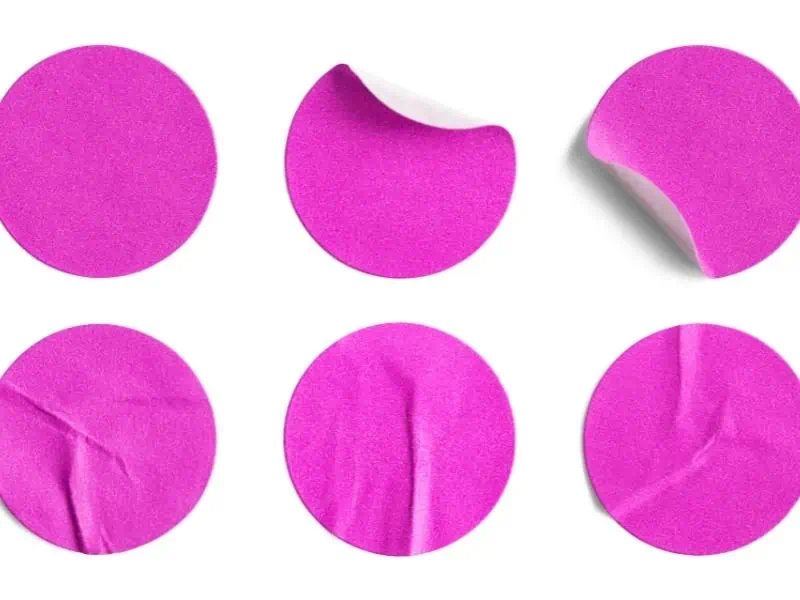
Label Stickers
Stickers are just as easy as stamps. You can place a sticker anywhere you like on your child’s clothing. Washable stickers should not come off in the washer or the dryer.
Unfortunately, that isn’t always the case. Washable stickers can wear away over time. They may also be uncomfortable if placed in an area where your baby’s skin is sensitive.
Getting Started with Labeling Baby Clothes
Before you get started, you need to choose which method you prefer. You might even choose a combination of all three. Next, you will get your supplies in order and pull out the clothing.
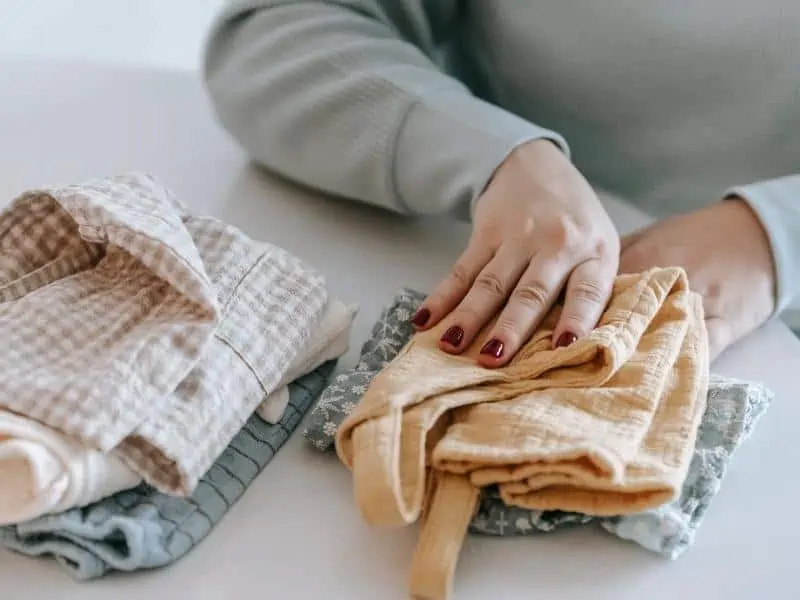
Step 1. Lay Out All Your Child’s Clothing
Baby shirts, pants, onesies, socks, pajamas, diaper covers, dresses, coats, jackets and even bibs need to be labeled. Don’t try to decide which specific items you’ll be sending to daycare. Instead, plan to label everything.
Using Iron-On Labels
Step 2. Cut the Labels to Size
These labels are held on a roll so you can cut them to be the size you need for your clothing. For small items, you can even only cut out initials if needed.
Step 3: Set Up the Ironing Board
Lay clothing out flat on the ironing board with no bunching.
Step 4: Place Label on Clothing
Put the label on the piece of clothing. Cover it with a fine cloth to protect the label as it is being ironed.
Step 5: Iron the Label
Place the iron on top of the cloth with the label and item of clothing underneath. Let the iron sit in place, without moving, for 20 seconds.
Step 6: Wait
Give the clothing and the label one full day to rest before wearing or washing.
Using Stamps
Step 2: Prepare Clothing
Lay clothing out flat with no bunch in the area that you wish to stamp.
Step 2: Remove Cover
The stamp will have a cover or seal that needs to be removed prior to stamping the article of clothing.
Step 3: Stamp
Put firm pressure on the stamp but be careful not to move it or you may risk a blurred or smudged image.
Step 4: Wait
All clothing items should be allowed to dry for 24 hours in order to let the ink set. After this time, clothing may be worn or laundered.
Using Washable Stickers
Step 2: Choose Your Spot
Stickers are best when used on existing clothing tags but any spot will work. Choose a spot that is easy to find where the stick will adhere well.
Step 3: Peel and Place
Peel the sticker from its backing and place where you have chosen on your clothing. You can now wear and wash as needed.
Other Methods of Labeling
These three methods are the easiest options but they aren’t the only ones. You can also sew labels onto clothing or use embroidery for a lovely, personalized touch.
Labeling baby clothing for daycare is not difficult but it is necessary. This is the only way to ensure clothing is returned to you day after day. What method of labeling clothing for daycare will you choose? Tell us in the comments!